Step One: Place on surface using a piece of masking tape on each corner.
Step Two: Using a ruler measure each side to make sure sign is level.

Step Three: Run a strip of masking tape across top of sign.
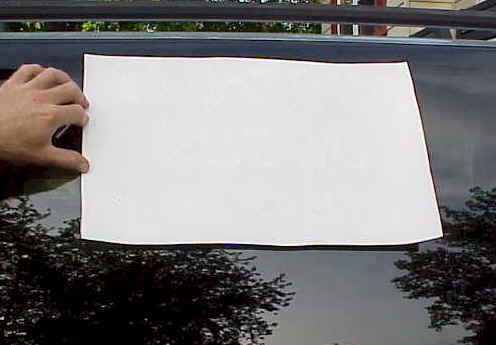
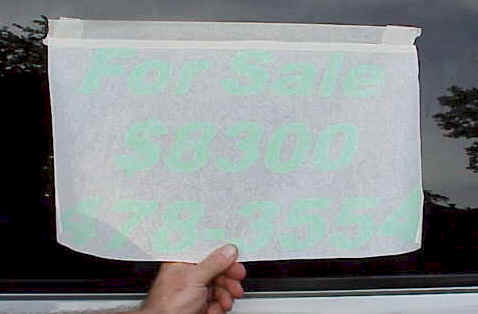
Step Four: Flip sign upside down on window.
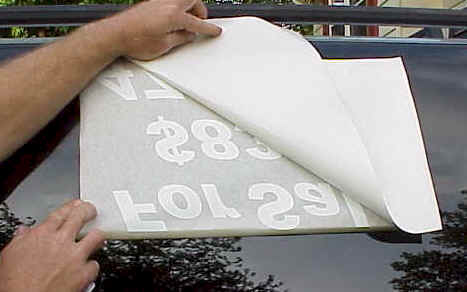
Step Five: Starting at bottom left hand corner slowly remove backing paper.
Step Six: Flip sign back to starting position making sure not to allow letters to touch mounting surface.

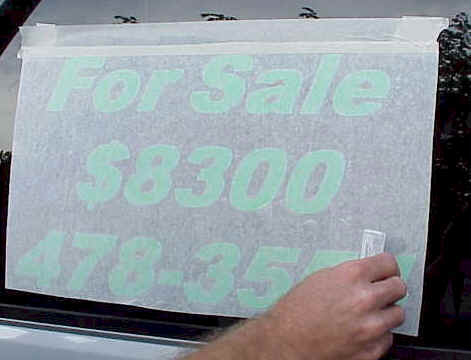
Step Seven: Starting at top center using credit card or drivers license smooth letters onto mounting surface one line at a time from center to right and then center to left/ Once first one of lettering is down move down to next line and repeat above.
Step Eight: Make sure that all letters and transfer paper are completely smoothed.
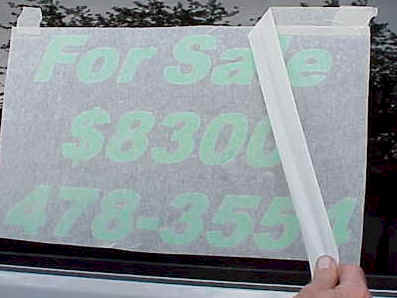
Step Nine: Remove masking tape from top edge.
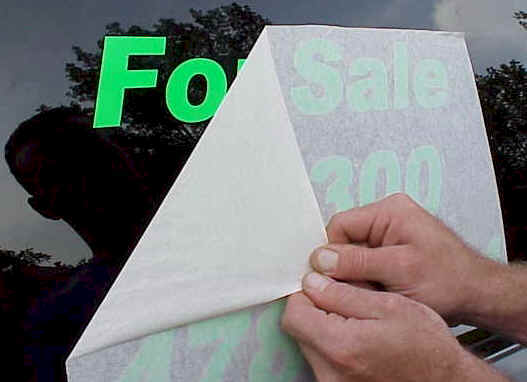
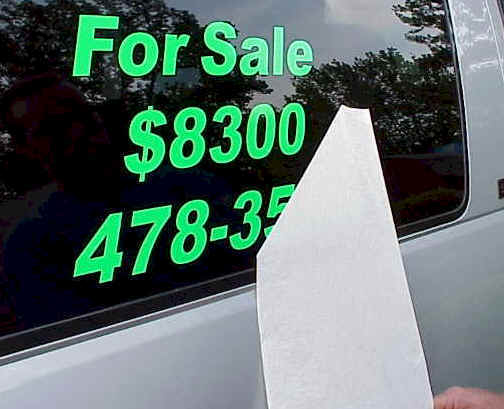
Step Ten: Starting at the top left and corner slowly remove transfer paper moving from top left corner to bottom right corner.

Step Eleven: If any air bubbles are present use a pin or needle to poke a hole in the center of bubble and smooth the air out using a finger or credit card.
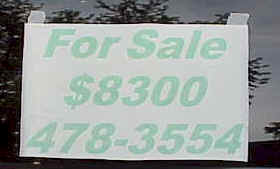
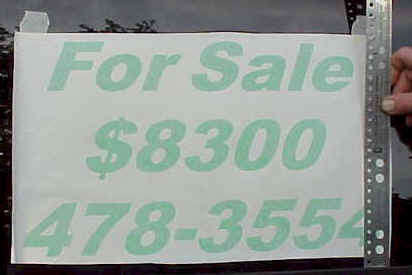
Completed.
Tips and Tricks
1: Slightly wet mounting surface with water prior to step Six. Do not soak mounting surface as the wetter it is the longer it will take to stick. Doing this will allow the air bubbles toe be squeezed out from under vinyl when performing steps seven and eight.
2: Using water, moderately wet the surface of transfer paper prior to step Ten. This will assist in breaking the bond between the transfer paper and the letters.
3: Avoid spraying the letter at an angle with a pressurized nozzle at car wash for the first 48 hours.